4.27.2007

Troll texture pass 2

Inspired by The Lord of the Rings Cave Troll by WETA Digtial.
Model, UV, Texture by Claire Marshall
Light rig By Ken Brose

The conversion of the mud box normal map didn't look so good, becuase I departed too far from the original geometry for it to look nice on the low model. So I went ahead and painted a traditional bump map in photoshop. If I was to do it again I would have painted over photo reference instead of trying to render out every last bit by hand. I think John Clapp would be proud of the rendering on this thing. I really went through a lot of effort to make sure the back "rocks" scaled in size as they got further away from the spine. I'm not sure if the blood spatter stain works or not, I might move it up across the chest becuase right now it draws too much attention away from the face.


3.20.2007

Mubox work in progress


I would keep working on this more tonight but its 4am and I've got a trip to london tommarrow. It should be exciting!

Models by Claire

Based on "cave troll" design by WETA digital

Based on "Draconian" model sheet by Sony Entertainment on-line

3.19.2007

Troll Mud Box Preview


Troll top view in mud box. If you want photo realistic textures in mudbox you can stencil a b/w image straight on to the model. Personally I like to paint it all by hand becuase I have more control and I can work looser. Pasting reference in seems like to cheep a solution, its too obvious were the photo ends and hand paint begins.

3.10.2007

There is more than one way to skin a Cave Troll.

There is more than one way to skin a Cave Troll. Dave specifically asked for a "pelt map" with as little seams on the Cave troll's back. He also wanted to see as little texture streching as possible while still making effecient use of the UV space. I spent probably wayyy to many hours on both of these but I think it payed off as far as I know know how to get the UV editor to do exactly what I want, instead of just guessing as to how it will unfold.

One problem I encountered was that The UVs kept blowing up after I used the unfold command on a mirrored UV. I realized that it was probably having something to do with topology getting reversed. I used the Unfold comand on the entired UV shell and that fixed the problem. So besure to check that your UV maps are flipped on the correct side if you want to connect to together. A second issue with unfolding is that the maps tend to fold over in the corners. If that happens use the relax command on the offending area and it will sag the UVs on the seam and square them up in the inside. Then select one half of the sag and unfold it. Then select the other half. This method is pretty good for a quick fix as opposed to manually pulling the uvs out of each other one by one.

I think it might be worth it to write up a tutorial on my methods for my own reference as well as for the other students, becuase I know a lot of people who could use more help on UVs. For example there are a lot of Newbie mistakes in the troll pelt map that I didn't know I had made until I showed it around to some professional UV mappers.

A good UV map should have perfect symetry. It should also make use of the space and have no overlaping UVs. Areas that require more detail such as the head and hands should be larger on the UV map than areas of the model that are mostly flat and uniform. All the UV squares should ideally be as simalar in shape as the modeled geometry. The UV map should have as few seams as possible. Seams that are on the model should be located where they will be seen the least such as under the foot and on the interior of the leg. If possible try to make UV map seams a straight edge or a clone of the opposite edge so that it is easier paint the seam edge in Photoshop. Excessive stretching of the texture is not desireable. Its not really possible to create a UV map that doesn't have at least some bad areas in it. Don't attach to hard and fast to these suggestions in the end what matters is how it looks in the final in game art.

3.06.2007

More LOTR Cave Troll Progress


I went back and changed the edge loops so that they follow the contours of the Face and muscle structure. The right side is the new side and the left side is the model from last post, for comparison. I am really happy with how much progess I have made on the detail of the eye rim. I have learned a lot from trying to create models from professional grade designs. Its really clued me in to the level of detail present in professional work that I wasn't getting from working from my own designs. If I had the time I would work this to a point were it looked exactly like the original design, but for now, I think its close enough. I should start on to UV mapping, texturing and mudbox by the end of the week.

3.05.2007

weighting Pose Pass - Troll


Cave troll with test Rig and quicky paint weights. My Maya instructor suggested that I test the deformations on a model in a pose to see if it looks how I wanted becuase it can be difficult to preconcieve how a model will look in standard T pose. I included a photo of the Cave troll Maquette reference, which is done by the Lord of the Rings movie staff not by me. I am taking a Maquette class. Im not sure if I want to do a cave troll for that too but I would look kinda cool to see the whole process in portfolio.

Maya Model Progress01


I'm going to start posting my daily progress on the models I'm working on.
Lord of the Rings cave Troll, based off a photo of a LOTR maquette. I have gone through a few design revisions on this one. This latest one has lots of hanging fat and more upper body muscles.

3.04.2007


Adding some more details. I hit the 4000 poly limit on the nose, with the medium Res. Now Im going back in to add details to a high res Sub-proxy. I should probably be UV mapping right now but I really prefer to not be editing geo when I UV becuase it is very unpredicitable.

3.03.2007


about 2000 poly model done from a model sheet by SOE.

2.13.2007

Three Cheers for Mudbox

I just got mudbox on a recommendation from my 3d instructor. Wow! where has this software been all my life? I made this coral from in about 20mins from a cube, to do it in Maya would have taken considerably longer. Mudbox lets you sculpt with a tablet paint stlye, although its not good for creating extruded geometry it is amazing for adding surface level details.

2.05.2007

Blog Feature

A few of my classmates have been featured on John Nevarez's blog. Congrats :)

http://john-nevarez.blogspot.com/

1.27.2007

the 18th hole golf course Under the Sea Theme

1. Current top idea: Under the sea

Creative props that can be created
1 Starfish hill
2 crab claw trap
3 indoor golf course under a giant blue dome lit from the with caustic lighting to appear as if its under the sea.
-Lighting possibilities:
Vegas style colored LEDs like those on a billboard that can show pictures
Search lights
Cloth hung down with fans to give appearance of ocean waves, lit from above
actually place it under the ocean, like the Monterey bay aquarium
4. Cloth "sea weed" like the car sale squiggly thing
5. Hanging jellyfish
6. Giant Sea Shell, Clam
7. plexi glass bubbles, visitors can go inside
8. Fun cubby holes just for children, Like the one at planet granite and the zoo...

Entertainment additional to the golf course
Rock climbing
Water slides

Concession stand options
Fried fish and chips
Pirate's booty candy... store looks like a sunken ship or a huge treasure box

Prizes for kiddies
candy shaped like sunken treasures or pearls
"pearl" margarita beads
sea monkeys

Gift shop


Why this should be an indoor Dome -
1 Opportunity to hang things fr0m the ceiling
Fish, jelly fish, sea weed, anchor
2 Lighting possibilities
3. Items that can't be put on an outdoor course can survive
4.

Materials

Water ever where!
Fountains
water falls
streams
Drinking fountains

Foliage? What kinds of real plants look like they could go in and under the sea environment?
Cut hedges to look like under the sea animals


Sand
Wood planks
rusted metal
soft sponge
add real coral and under the sea rocks?


Multi level coral shelf’s for each hole
Archways to go underneath


what is the scale of the ocean?
Aquarium vs. Open Ocean vs. coral reef.
What is the Local of the ocean environment? Great Barrier reef, Deep sea, tide pool,
What animal and plant species are native?
How consistent is the environment to the real world
is this a magical place or Darwinian educational environment?

Sources for Possible reference Ideas
Sharks idea from Leo
Tide pool photos

Be sure to include cool ideas from... but make it unique don’t copy design
Finding Nemo
Little mermaid
Sharktale?
Little mermaid- actual fairytale

Artists? What should the style be? Try to avoid realism just because it’s where you’re most comfortable.

Shapes
Bubbles
Sea Fan
Coral, sponges
tendrils
Curves and spirals
waves,

Shapes not characteristic of the environment
Boxes, straight lines

Cool Textures
Brain corral
Spots, leopard fish
floral

Colors
Neon
Blue, panted coral Magenta, Deep purple, turquoise, clownfish orange,
Sea anenomomies

Under the sea animals
Starfish
Crab
Shark
sea turtle
Fish of all shapes and sizes
Eel
Dolphin

human Characters - hired actors can walk around like them, Statues, employee uniforms
Sea Mermaid
Old style diver - like the astronaut
Scuba Gear
Pirate - Dead pirate who walked the plank
king triton

Planes, Trains and automobiles
Boats Submarine, 2000 leagues under the sea submarine
Pirate ship
Little mermaid vehicles from the environment Crab ride,

Plants
Coral

Starting a New Semester

All that time and effort I went through posting on acme is finally paying off.
www.acmeanimation.org Acme students were invited to participate in a specail class hosted by Dela Longfish and Jeff Sengali. The class blog is http://www.bfa218.blogspot.com/

Dela asked us to write out our goals for the Class and the semester and to keep a journal so I thought I would post here.

Short Term:
Create 10 good portfolio pieces, have at least 30 addtional works
Create a professional reel
-Reel must be on a DVD with a colored label
-Create a interior booklet with resume

Achieve Professional level output
- professional level is being able to work concept to finish in a week or less
- having 200 or more ideas for any given project
-

Ways to achieve:
1. Do at least one great drawing a day, post it on the blog.
2. Devote at least 4hrs to working on portfolio a day
Work on time management
Reduce amount of time spent on email
Pretend assignments are due the day they are given
Dont assume that one day is enough time to get anything done. Last minute = starting 24hrs before its due.
Improve housekeeping
Draw or write down ideas during down times like waiting in line
Create a Billing hours log - write down how much time you are spending on task
Stop working on dead end projects, Create deadlines and timelines for a project.
Evaluate wiether or not you have time to invest in given project or idea.
If a Project looks to complex find ways to make it simpler and do able with in the time frame.
Worry less about what other students are working on and devote time to what you are getting done. "Its all about the finish"
Time not spent doing career building must be earned for every 1/2 hour watching a movie spend 6hrs or more working
Wake up at, at least 9am everyday. Work towards getting at least 4hrs of sleep a night

Optain an Art position after Graduation
Shop for a job, Dont just pick the first one

Ways to achieve:
Get and interview with in a month
Apply to every position available even if just for practice

Become a Respected Business Professional
Always be on time
Never Expect your boss to remind you of what is due
Ask questions when they need to be asked
Practice Speaking in public
Work on more group projects
Be senstive to other's feelings
Take critisim
Listen more
Dont interupt people while they are speaking
Always have ideas to contribute
Bring solutions not problems - If you have something negative to say, Start with the solution.
Complement someone on a job well done.
Demand more of yourself and less of your boss.

Learn a new techique Everyday

9.20.2006

Abstractions and Esoterica


I just got a the special Airbrush tablet mouse for Wacom Intous 3. I was expecting the wheel to function just like a regular scroller mouse wheel, but it only has functionality in software that specifically supports it. This came as a dissapointment to me becuase pretty much everything else on a wacom is customizable. I dont think it would have been all that difficult for them to include a $9 mouse driver into there deluxe model. Anyway I got inspired to learn some more about painter 9.

I've had it for a long time, but never got much into it because I already knew how to use photoshop. I have to say the brush customization in Painter XI seemed a little overboard but it is a really powerful tool.

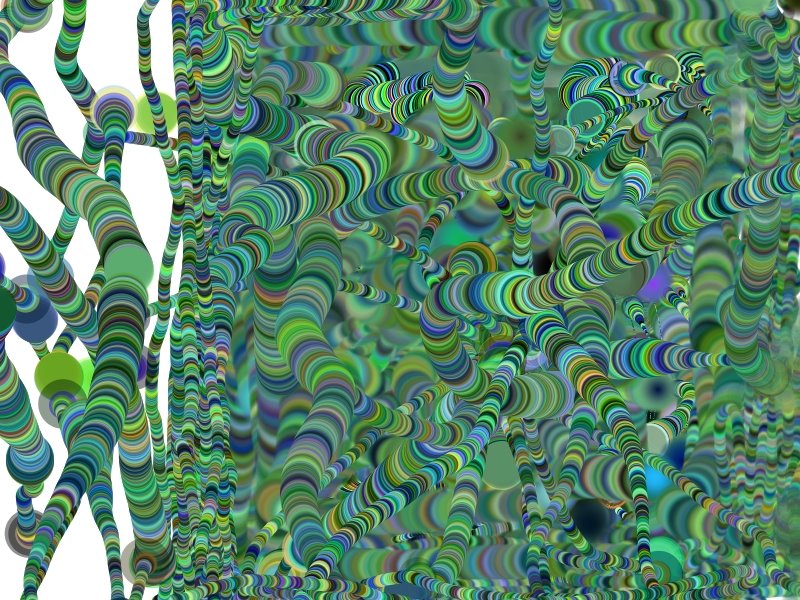
This is a round brush with spacing and HueValue Shift. I like how the layers automatically create a sense of depth through overlap with out any perspective.


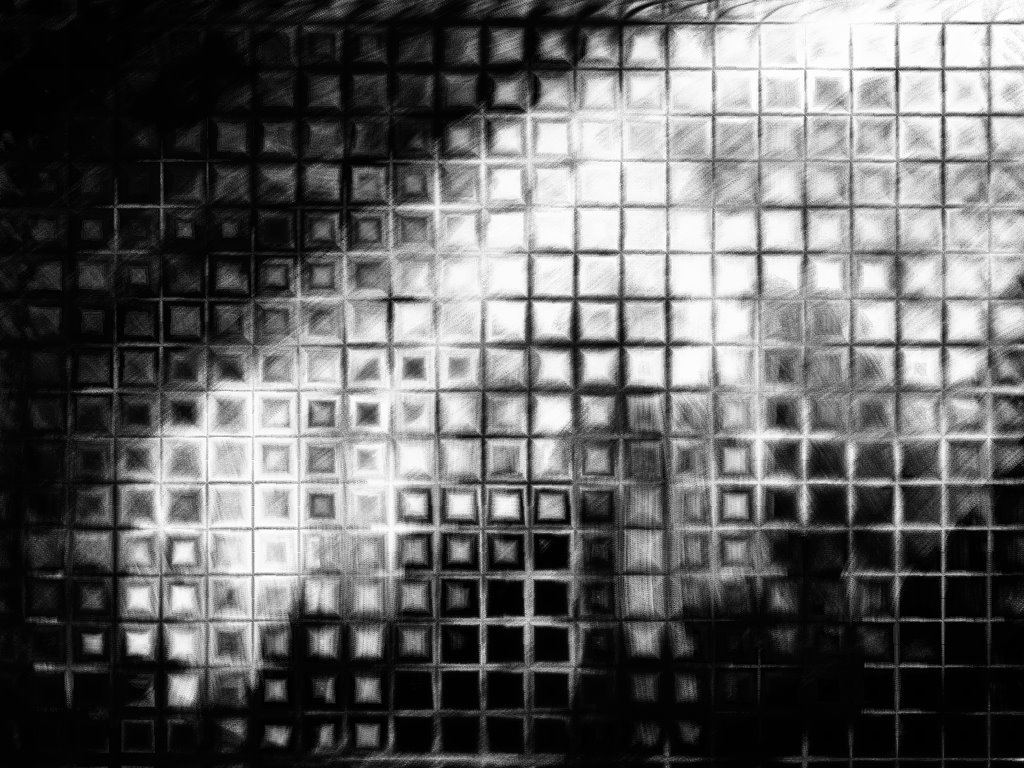
This was created by inversing the brush color and the paper tone options. I wanted to create dirty tile wall with a texture that was interweaved with tone.

9.16.2006

Some Old Work

The best of the Illustration 113 Classes. I felt proud of my rendering from a photo skills for a while. Then next semester I learned that a professional artist only uses photos as inspiration, taking only the essence of a thing and leaving the rest to viewer's brain make up. Infact meticulously copying detail for detail should be left to students as an exercise to improving observation and skill with the medium.


HEART OF DARKNESS


JOURNEY INTO THE HEART OF DARKNESS
By Joseph Conrad
At first I was concerned with doing research and well referenced characters.

Later on, I realised the challenge of this project was to create imagery to match that famous quote "The horror, The HORROR!" I still think I could have pushed it further.


I thought it would be interesting to make Kurtz an skeleton of a man made a slave by his desire to get more ivory, ingnoring even his own health rotting his soul and leaving only the bones.